
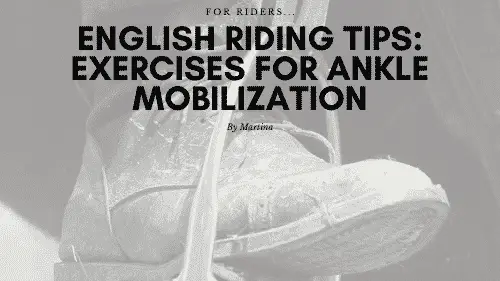
I know how frustrating it can be trying to keep your heels down but feeling like you just can’t.
Sometimes it really isn’t your fault and it’s actually your ankles that are the problem. So if you have really stiff ankles like I used to, then try some of following ankle mobilization exercises.
[UPDATE!] I want to start of by saying that if you’re REALLY struggling with ankle mobility and lower leg position, e-mail me directly as I’m currently working on a complete course on how to go from 0 to excellent ankle mobility and complete lower leg stability when riding. I’ll give you access to a great deal when the course launches (no obligations, of course)!
To find out whether your heels aren’t staying down because your ankles are too stiff, click here to check your ankle mobility. Chances are if you’re having a lot of difficulty keeping your heels down and you’ve done some chronic activity like tennis or ballet where you’re always on your toes, then your ankles are the culprit.
Only three ankle mobilization exercises – is that really enough?
I could go on and on here and list off 20 ankle mobilization exercises for you, but I won’t bother. The reason is because personally I only have so many hours in the day to dedicate to stretching my ankles. I don’t want to have to run through 20 ankle mobilization exercises!
I much prefer having a small number (such as three) that I can really focus on rather than rushing through 20 of them.
Also, this isn’t a “it may or may not work for you” type of thing. Ankle stiffness related to dorsiflexion comes down to one thing 99% of the time, no matter who you are. It’s the joint not being free to rotate in the socket properly. So what you need to do is free up the compression and stiffness on that socket.
But I broke my ankle!
Please note that the 1% is if you’ve had some sort of injury or infection to the area. This means that your stiffness may be related to fluid buildup, scar tissue or even issues during bone healing.
If this is the case, then I would still recommend the first two exercises below – and maybe even the third – but quickly double check with your doctor depending on the severity and details of your particular injury.
Better safe than sorry!
The top 3 exercises for ankle mobilization
I’ve listed 3 of what I think are the most useful and effective ankle mobilization exercises below. I’ve rated the difficulty of doing the exercise, the discomfort you’ll feel from the stretch and joint mobilization, what you’ll need and a breakdown of the exercise. So let’s get to it…
Exercise 1: The 3×5’s
Difficulty: Low
Discomfort: Low
What you’ll need: Something stable to rest your toe on with nothing blocking your knee if it goes forward past your toe.
Description:
You want to face whatever you’re using to stabilize your foot. Then rest the top toes of your right foot against it such that your foot is perpendicular to the flat edge of the surface that you’re resting it on and your body is facing it directly. I use a box or a book that I put up against a wall so that if my toes push against it, it just presses against the wall.
Using the box/book as a marker to keep your foot from sliding forward you want to slowly lunge your right knee forward until you’ve gone as far as possible without lifting your heel off the ground. Make sure your knee is going directly over your foot and your hips and knees are not doing anything funny.
During this time you want to keep your left leg about a foot behind your right to give you balance. As you lunge your right knee, you should feel your weight transferring from your left to your right foot.
Once you’ve gone as far as you can, pause there for a count of two seconds in your head. Return to a neutral position and repeat 5 times. Each time try and go a little bit further than you did the last but make sure your heel doesn’t go off the ground, your knee doesn’t collapse inwards and you don’t pop your hip out.
That was the first set. Next you’re going to do the same thing but instead of going straight above your knee, you’re going to angle your knee slightly outwards away from your body.
Think of a squat position or the position you’re sitting in when you’re on a horse. Your legs aren’t directly ahead of you, they’re angled out a bit. So we’re trying to recreate that motion. Again, do this in the same way for 5 repetitions holding at the end for 2 seconds.
Last you’re going to do the same thing except now with your knee angled slightly inwards. This is simply to mobilize your ankle in all directions so that you’ve moved around the joint to its full range of motion. Don’t let your knee collapse inwards during these. You simply want to push your knee forward at a slight angle not completely let it fall inwards.
Great! Now simply repeat this on your left side.
Exercise 2: The resistance lunge
Difficulty: Moderate
Discomfort: Low – Moderate
What you’ll need: a yoga band (not the stretchy kind – the kind that feels like the bottom of a backpack strap).
Description:
Get your yoga band and kneel on the ground. Put your right leg in front of you so you are in a lunge position with everything at 90 degrees.
Your thighs should be at 90 degrees relative to each other and relative to your calves, respectively. Make sure when you look behind you that your left calf is pointing directly behind you perpendicular to your hips and shoulders when you’re facing forwards.
Bend over your right thigh and wrap the yoga band over your foot right below the front of your ankle joint. You want the side of the band closest to your ankle to be in the crease that occurs when you dorsiflex.
Now pull the band downwards as hard as you can and back simultaneously so you get an angle. What you’re doing is actually pulling the socket of your foot downwards so that when you push your knee forwards, the joint will have more room to rotate forwards.
A trick to doing this a bit more easily is tying the yoga band to something on the ground or to a fixed pole and then setting up such that there’s pressure from the pole rather than you having to pull and lunge simultaneously, which can be annoying.
Finally, you are going to lunge your right knee forwards. In this case only go forwards so that your knee is in line with your hip and your knee is going straight forwards directly over your foot. Lunge as far as you can without letting your knee collapse in or outwards (that’s cheating!) and then hold for 5 seconds while you pull as hard as you can back on the band. Return to neutral and repeat 9 more times and then do it again with the left foot forward.
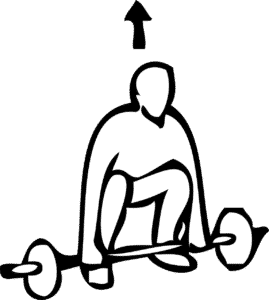
Exercise 3: Knee-weighted squats
Difficulty: Moderate – Very High
Discomfort: High – Very High
What you’ll need:
- A barbell
- Plates (5 to 15 kilos)
Description:
This exercise is very advanced and you shouldn’t do it unless you know that you have a solid squat and good balance. Both of these are important for a horseback rider so if you don’t have these skills, then get cracking!
Get a barbell and either start with just the bar (45 lbs) or load 5 kilos on each side (70 lbs). I chose these weights since the fat plates I like using jump by increments of 5 kilos. You can always use less weight if you don’t like the size of that jump.

The problem is that stiff ankles tend to be very stubborn.
Doing this exercise with 30 lbs isn’t going to do much. You’ll need at least 45 lbs to really get a stretch going. But of course you should start as low as you need to get comfortable with the exercise.
As a side note, if you are not comfortable lifting 70 lbs then I would suggest a basic strength training program to complement your riding. Personally, I think that being strong is extremely undervalued in riding. It gives you so much more control with your legs, creates better posture, prevents falling off and will help with basically everything around the barn in terms of equine care and maintenance.
Next you’ll want grip the bar in an almost olympic lifting style manner. You need a grip that’s going to be slightly wider than your knees. Your feet need to be about shoulder width apart with your toes facing slightly outwards. Standing with your feet or shins against the bar, lower into a squat with both heels on the ground and grip the bar accordingly.
Warm up portion (big plates on each side)…
This position itself should be a good stretch for your ankles as you slowly brace your back. Think of it as being a flat plank. Your hips will naturally come up as you flex your abs and your knees will go forward. Use your grip on the bar to help stabilize you and push your knees further forward over your toes. Make sure your knees stay outwards and don’t collapse in.
The reason the plates are important is because they raise the bar off of the ground enough for this position to be possible. If the bar is too low to the ground or sitting on the ground, bracing your back into a neutral plank like position is virtually impossible. You won’t get the leverage you need to stretch your ankles.
Do a static hold in that position for 30 seconds and relax for 30 seconds. Repeat this 5-10 times depending on how you’re feeling. It can be very draining!
Resistance portion…
Take a break and then come back to the bar. This part you can do with any weight. The method that I mentioned earlier of bracing your back and lifting from a squat-like position is much safer for your back. So it may be better to opt for a heavier weight and avoid bending all the way to the floor where you’ll lose tightness in your back.

Next, get into position to lift the weight deadlift style – which means flat back and use your legs! Here’s a video reference.
Once you’ve lifted the weight, it gets tricky. Now you need to slowly squat downwards while keeping the bar in the crook of your hip. This is not going to be easy and will require lots of practice. Make your stance as wide as you need to.
Once you are fully squatted with the bar resting on your upper thighs, you’re going to slowly roll the bar out towards your knees. The further you roll outwards the more pressure you’re going to feel on your ankles. As you roll out you need to raise your hips and straighten out your back. Eventually the bar is going to be resting on the top of your knees. Hold that position for 30 seconds or as long as you can manage before rolling back.
Once you’ve rolled back, return to standing. Then lower the bar using the same straight-back deadlift style movement to make sure your back is safe!
The back up plan
If you’ve tried everything possible and your ankles just refuse to get better then it’s time for plan B. And thats going to see the chiropractor. A chiropractor will loosen up the muscle and mobilize your ankle joint through manipulation.
They will literally pull your foot quickly to give the joint more room to move around in the socket and reduce some of the pressure on it. I know it might sound scary but it’s not painful and it’s not harmful to you whatsoever. Just make sure you find a good reputable chiropractor with lots of experience. They need to know what they’re doing.
I really really hope this has helped you! If you’re having ongoing issues with your ankles just let me know by commenting below.
Or if you have more specific issues with your riding let me know and I’ll do my best to help out.
If you’re REALLY struggling with ankle mobility and lower leg position, e-mail me directly as I’m currently working on a complete course on how to go from 0 to excellent ankle mobility and complete lower leg stability when riding. I’ll give you access to a great deal when the course launches (no obligations, of course)!
Happy riding 🙂
Liked this post? Why not pin it!
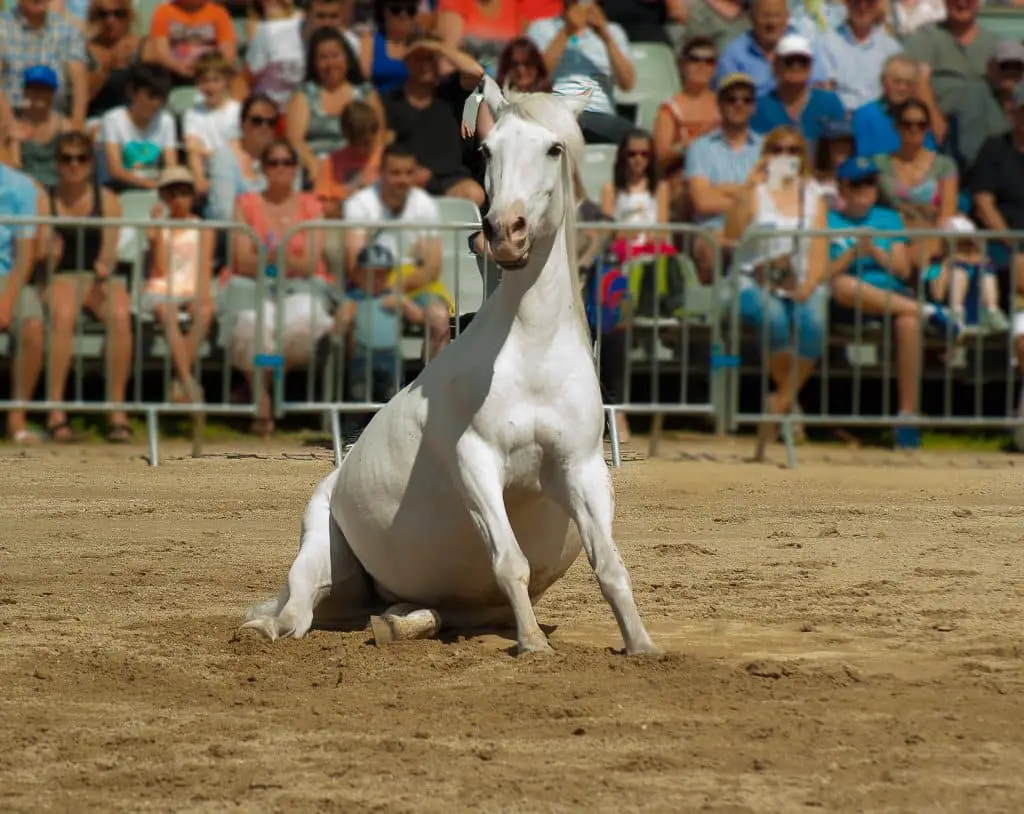
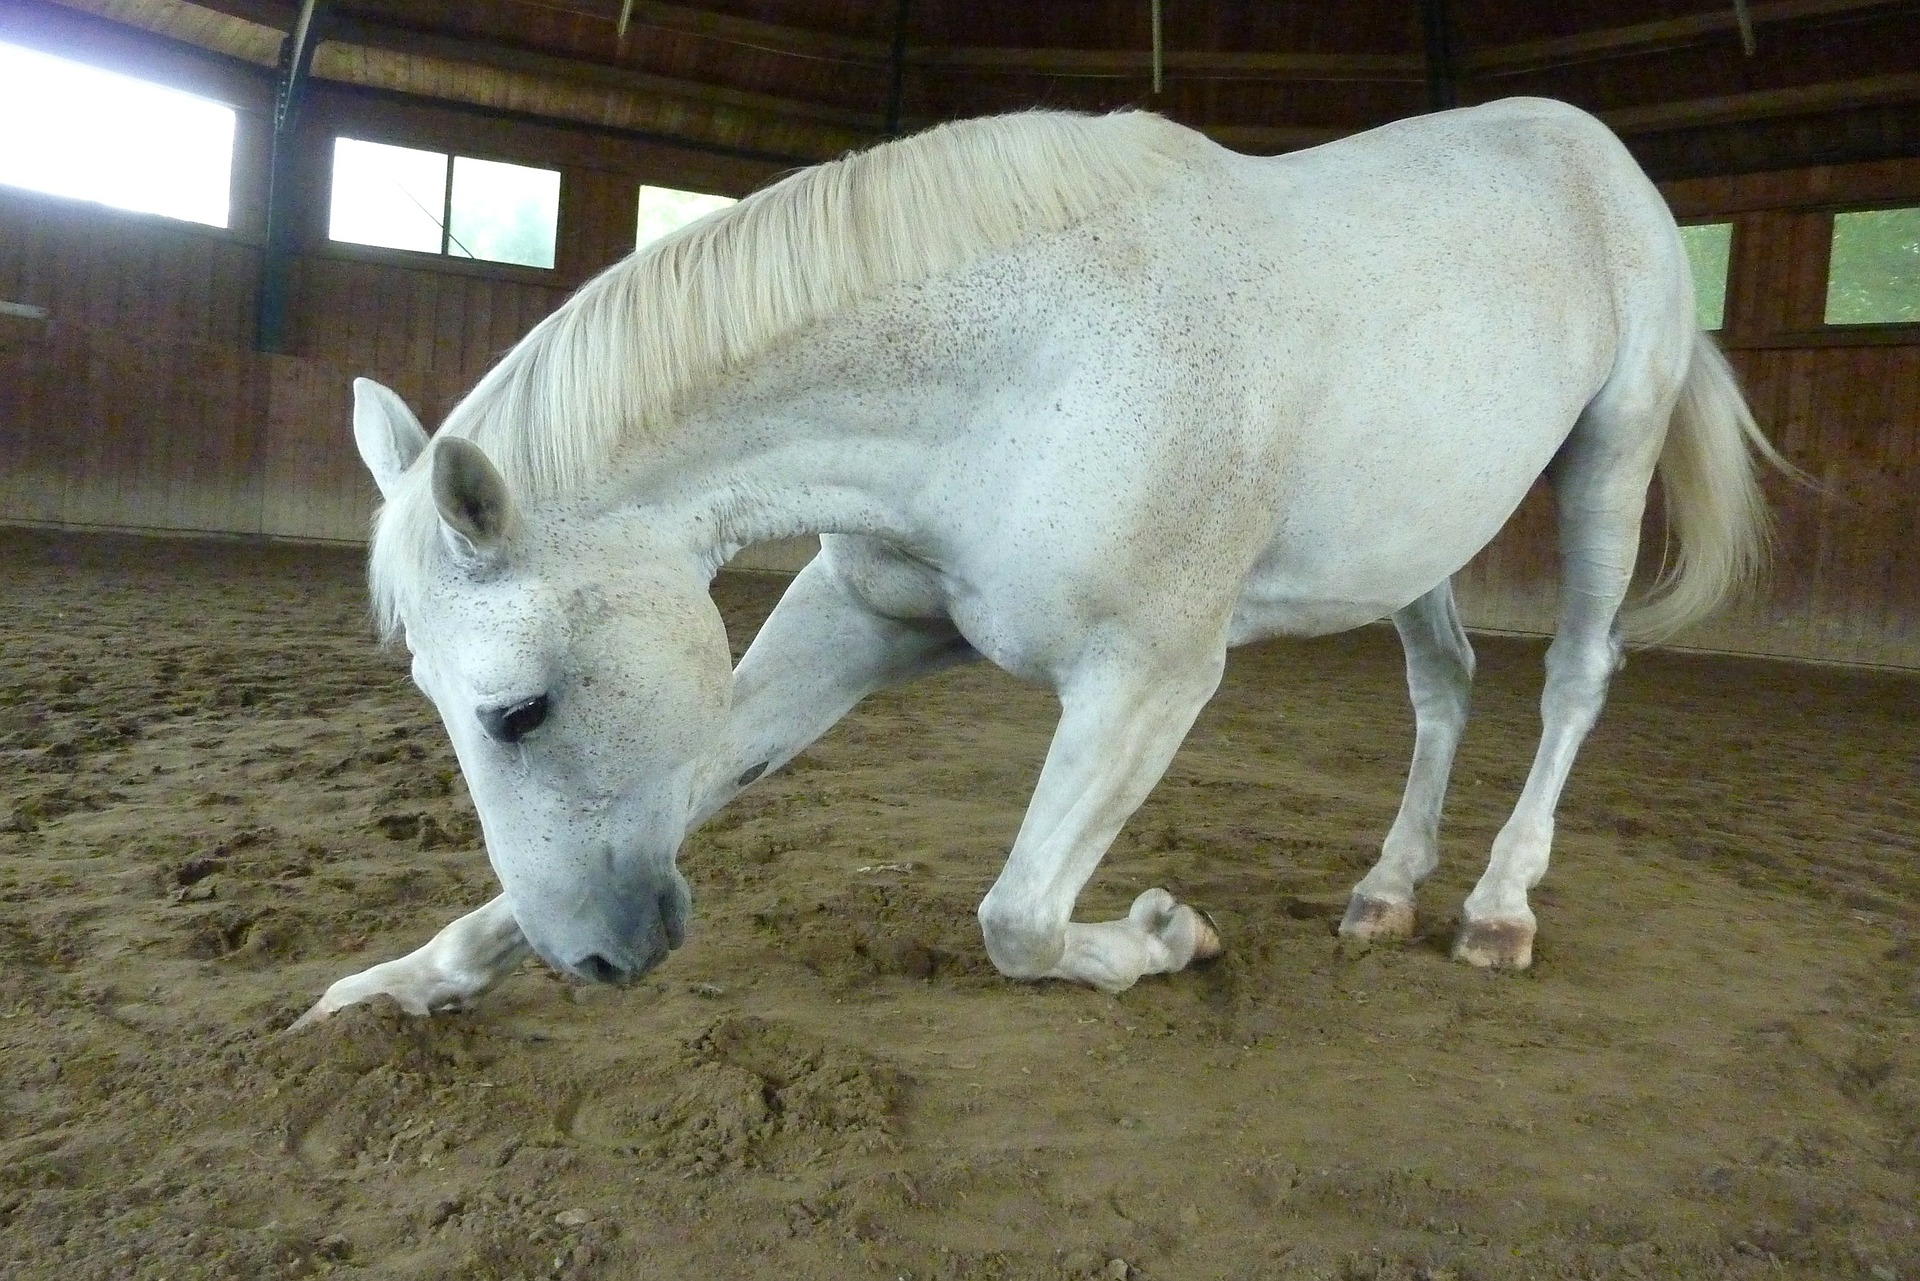
I never realized someone who rides horses needs to exercise to stay in good condition, especially never thought about needing strong flexible ankles when doing equestrian activities.
Its great you learned this to help with mobility and your photographs of your horse are just beautiful. Such a fine looking horse, what breed of horse is that and are there certain breeds people use for this sport?
Hey there!
Actually yeah I’ve noticed that many people don’t realize the athleticism you need to horseback ride well. It’s actually much more physically challenging and draining than it looks once you get to more advanced riding – of course a trail ride isn’t going to exert anyone!
That’s a lipizzaner – they are mostly used for dressage. And for English riding there are several types of horses people use. For hunter/jumper I would say often quarter horses, thoroughbreds and morgans are used although there are plenty of other breeds as well. For dressage, fresians, quarter horses and lipizzaners are used but again there’s plenty of other breeds!
I haven’t ridden since I was a teenager so I hadn’t even thought about ankle mobility. (except when I’m wearing high heels! :-P)
Even though I don’t get many opportunities to ride, I am definitely going to try these exercises since I work a job on my feet for – 5-7 hours at a time. I don’t have weights so I guess only 1 and 2 will work for me.
I like how thorough you are in the descriptions. Very important when dealing with the body to do the exercises correctly.
How long do you think it would take to see results with these?
Hey Niccolea!
Thank you for your feedback – I’m happy you like the descriptions. And it really depends how stiff your ankles are. The stiffer they are the longer it will take. I would say you’ll see results within a week if you do these excercises like 3 times and slow progression afterwards until you reach the point that you would like!