
Learning how to ride a horse is a wonderful, but sometimes slightly nerve wracking process. I know lots of people who’ve been anxious before their first lesson to know what it’s going to be like.
Everything I wish I knew when learning to ride I’ve put together for you in my 100% FREE Beginner Rider’s EBook! You’ll learn how to keep a consistent pace (whether you’re riding a fast or slow horse), how to make smoothen transitions, how to finally get the flexion and bend you want, The Emergency Brake as well as bonus chapters on making cantering and jumping so much easier!
I want to be clear: I don’t recommend starting riding on your own, without taking a lesson with a coach or instructor. Unfortunately riding isn’t a hugely intuitive sport, and there’s lots of preparation and equipment necessary.
So while I’ll explain how to ride a horse to you here, this is really just intended to give you a sneak peek of what you’re going to learn – so that the learning curve isn’t as steep as it might otherwise be!
We’ll cover it in ten steps, which I’ll split over three stages:
Stage 1. BEFORE YOU RIDE
Stage 2. WHEN YOU RIDE
Stage 3. AFTER YOU RIDE
How to Ride a Horse: Before You Start to Ride
#1: Wear Appropriate Clothes
The right clothing can be make or break for your first riding experience. But sometimes our expectations about what we can wear riding are warped a little by movies – like how many films have you seen where the main character goes riding in a sundress? It’s just not that realistic.
Instead there are three things I want you to focus on for when you’re learning to ride a horse: the right boots, the right clothes, and a helmet.
For boots, you want something with a small heel to stop your foot slipping through the stirrup, which can be really dangerous. Something like the Ariat Paddock boot in this picture:
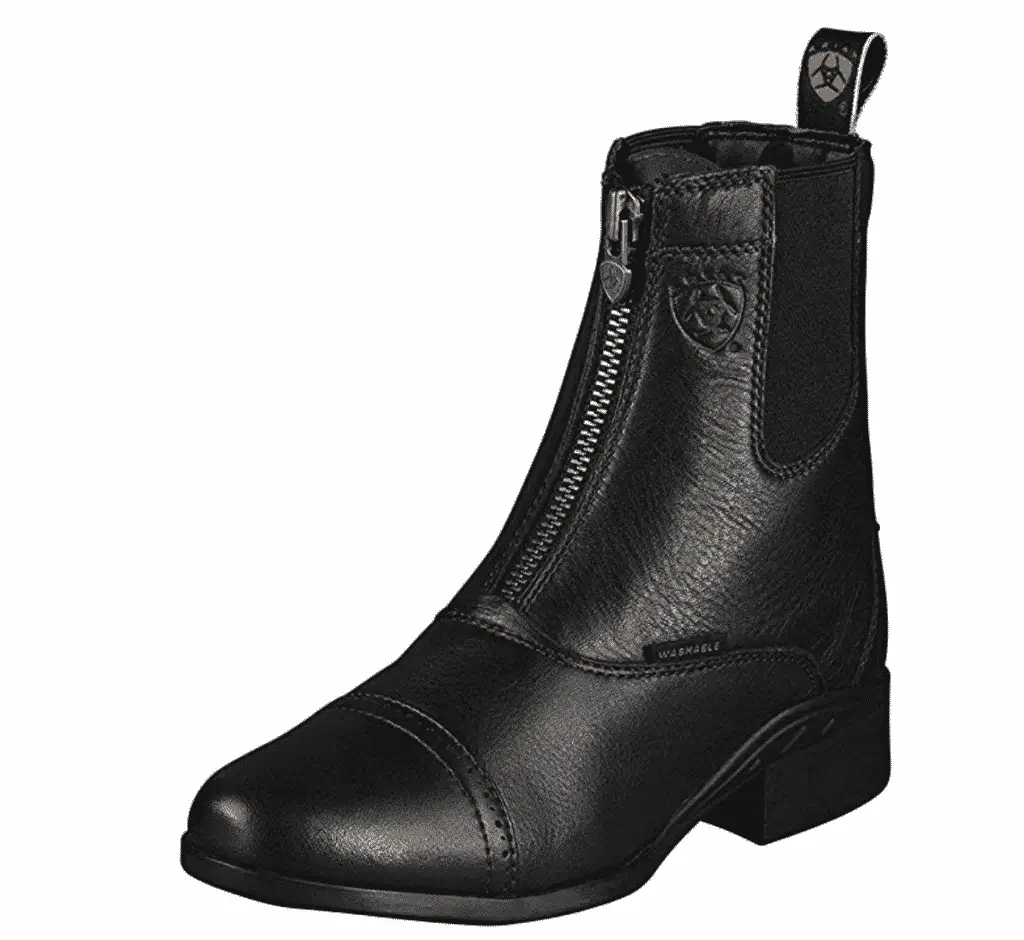
If you want some help choosing the right boots, I have an ultimate guide to horseback riding boots you can read here.
For your clothing, your top half is pretty straightforward: dress for the weather, and wear something comfortable that you would be happy sweating in (because you most likely will sweat!). Long sleeves might be a good idea if you’re worried about falling – although I promise you’re not that likely to!
On the bottom, you want something with good mobility but also decent protection from chafing. A pair of jeans would work if they had some stretch, or some really thick workout pants. Ideally you’ll want jodhpurs in the long run, but for now those other options will do.
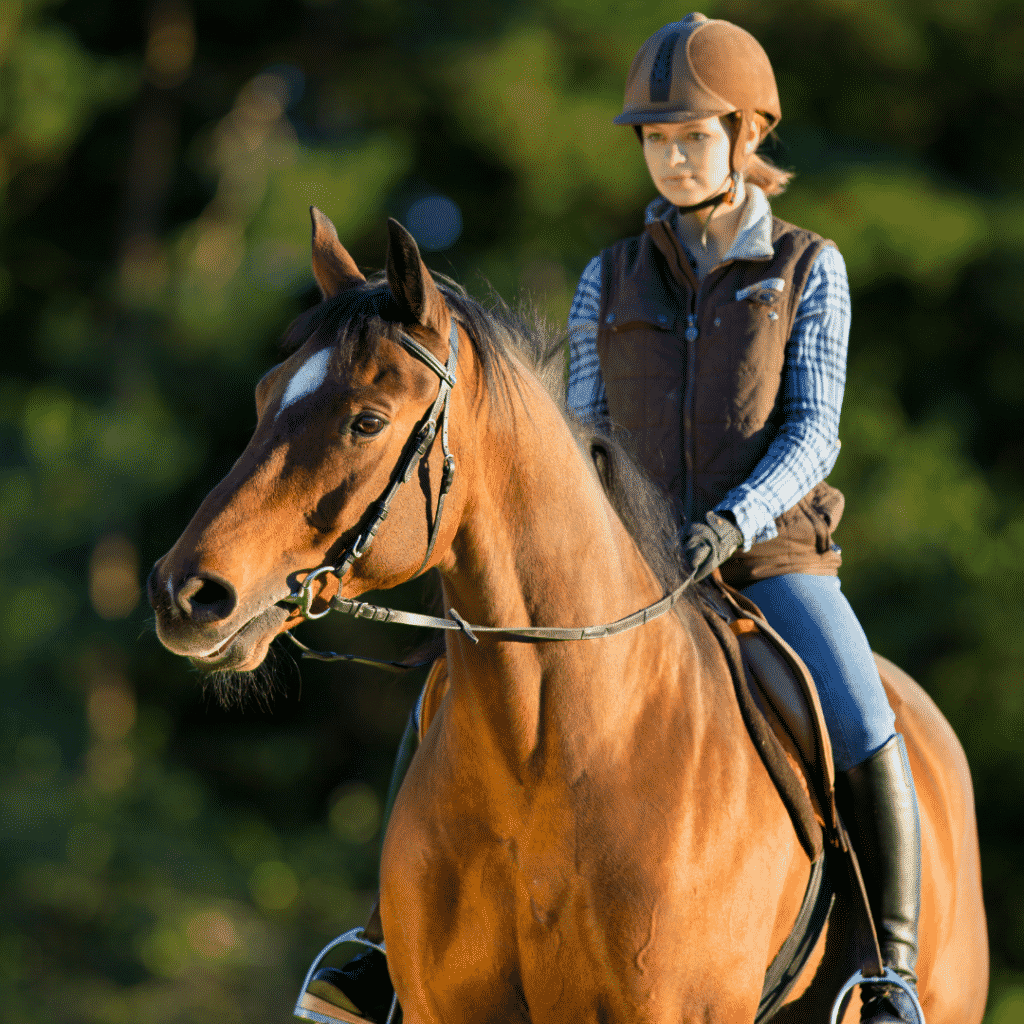
Finally you’re really going to want a helmet. They are so important for keeping you safe.
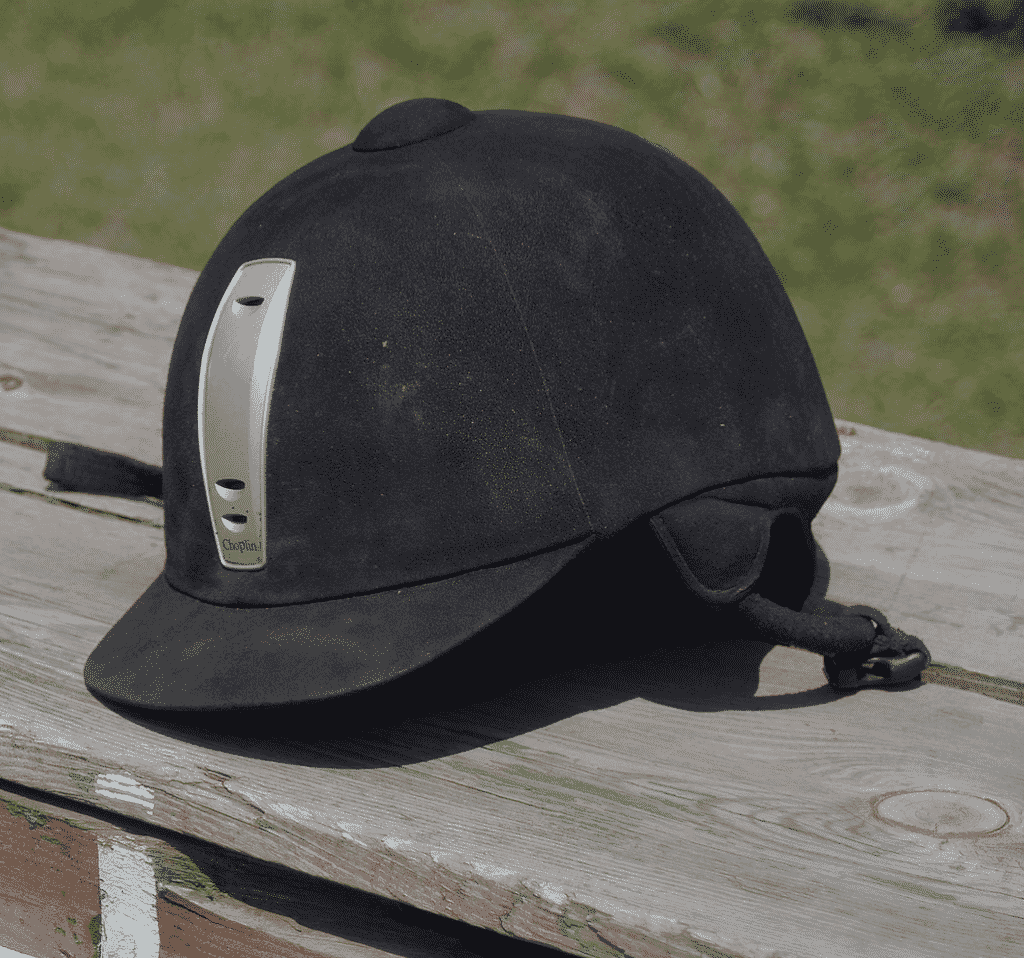
Unfortunately a bike helmet won’t cut it in this case, because it’s designed for very different impacts. If you’re looking for a helmet, here’s a post on three of my favourites!
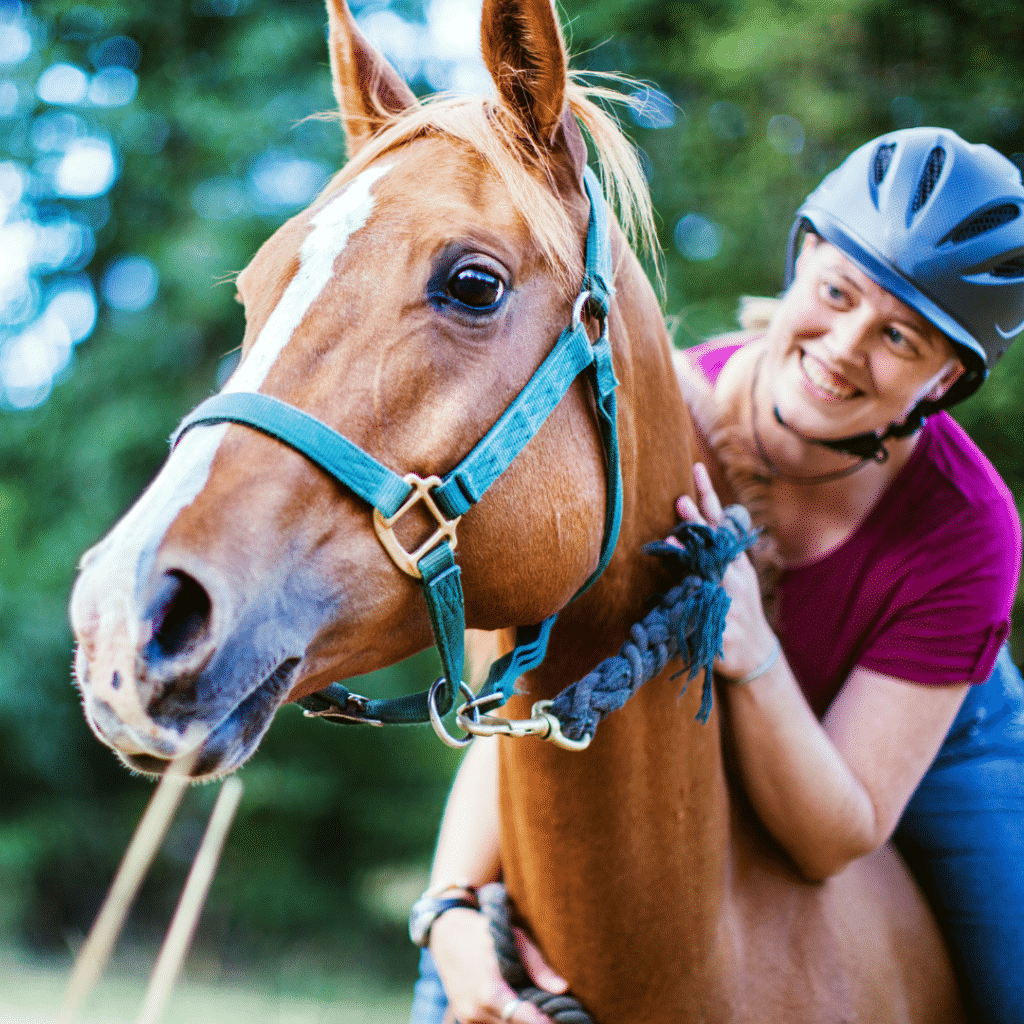
#2: Introduce Yourself to Your Horse
The first thing you’ll need to do once you arrive at the stables is greet your horse. Chances are this is the first time you’re meeting, so it’s polite to introduce yourself.
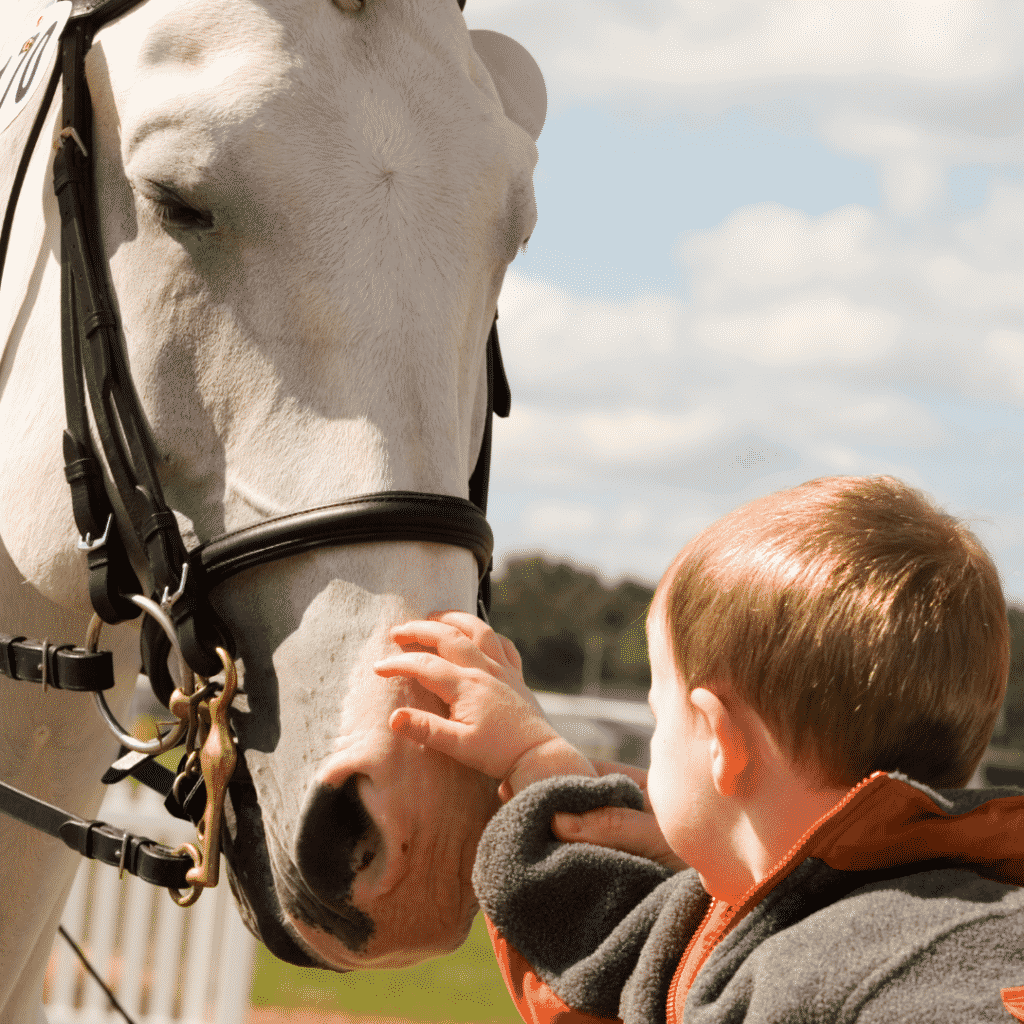
Horses are really peaceful herd animals, but they spook easily. So you want to approach with slow, deliberate movements to avoid freaking the horse out. Try not to make too much noise either, and let them come to you.
#3: Tack Up Your Horse
You got all dressed up for your first ride, now your horse has to get dressed up too!
Before you can ride, you’ll need to tack up your horse. This involves putting on the saddle, girth and bridle. Don’t worry – your coach or instructor will show you what to do.
Typically before you tack up, you might give your horse a quick groom too. Your instructor will let you know if that’s something they want you to do.
Just make sure you do everything slowly and gently – your horse will still be getting used to you.
How to Ride a Horse: Let’s Get Riding
#4: Mount Your Horse
Again, this is something that your instructor will help you with. But just so you’re prepared, you should know that traditionally riders mount from the left hand side of the horse.
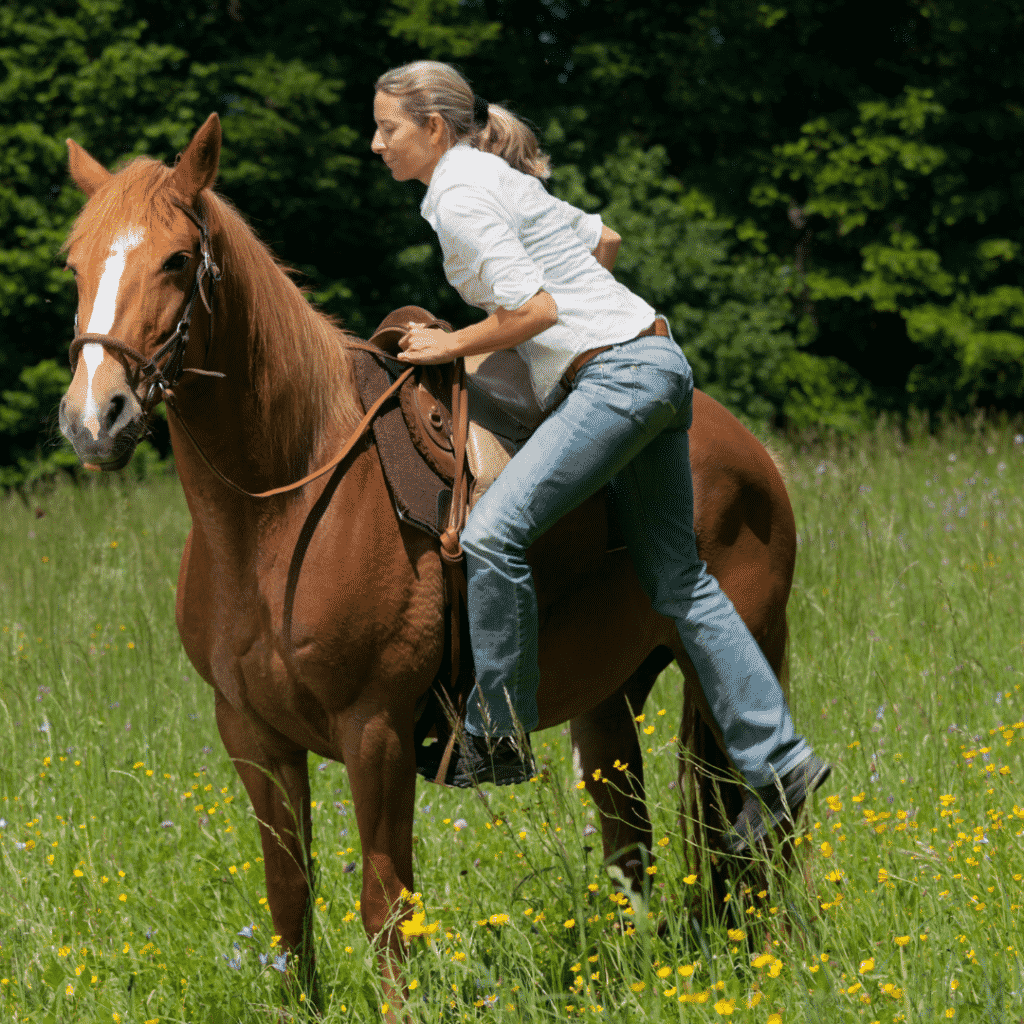
You’ll place your left foot in the stirrup, pull yourself up, and then swing your right leg over swiftly. This is the only moment you’ll find it’s necessary to move swiftly around your horse. The reason for this is that you should have your feet in your stirrups as soon as you can. This will help to balance yourself as needed.
You can totally mount from the right if that’s easier for you. However it’s generally considered more informal, and if you want to ride in an English competition you’ll be expected to mount from the left in future.
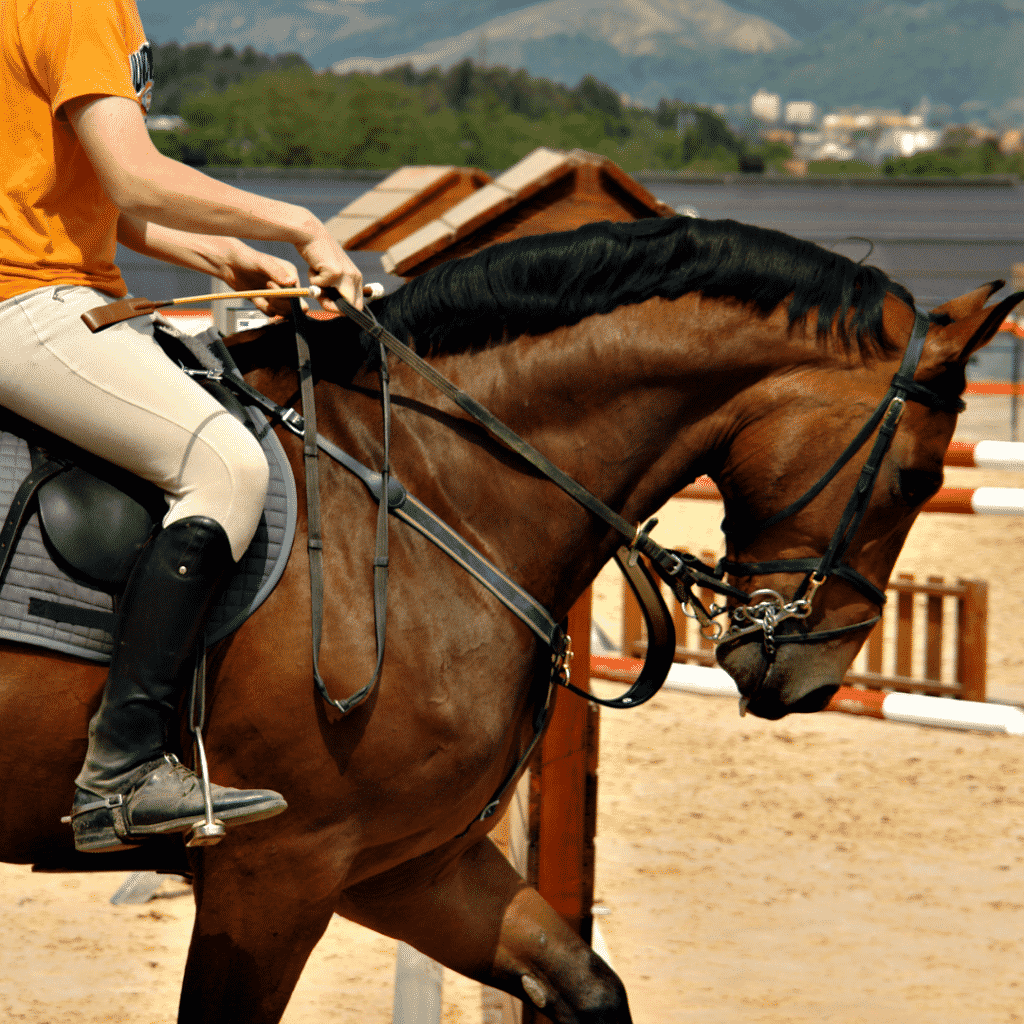
#5: Establish Your Posture and Balance
In your first lesson, a lot of what you’re learning will just to be how to sit in a stable position on your horse. Depending on the style of riding, you could be learning one of three postures:
- Western. Sit straight, and hold both of the the reins in one hand by your side.
- Hunter. In this position you’ll be straight up in the saddle, and a little forward, holding one rein in each hand. This is the posture you’d develop to learn how to jump. It’s called “hunter” because it originated with English fox hunting, which was done while riding.
- Saddle seat. Here you’ll be sitting a little further back than in Western or Hunter, but like Hunter you’ll have one rein in each hand.
Initially you might find it a little tricky to balance. You might find that after your first lesson your abdominal muscles are a bit sore. But over time as you learn how to ride a horse you’ll develop more core strength, and the balancing will become totally unconscious.
#6: These Hooves are Made for Walking!
Once you’re nice and balanced, your next challenge is to start moving.
There are three gaits (or speeds) that a horse will move at:
- Walk. This is the slowest gait, and it’ll be what you’ll do when you’re first learning how to ride a horse.
- Jog / Trot. Now depending on whether you’re learning how to ride a horse Western or English, the next fastest gait is either a jog, for Western, or a trot, for English. A trot is generally a little faster than a jog.
- Lope / Canter. The fastest gait in Western is a lope, and in English is a canter. And again, a canter is usually a little faster than a lope, which is more smooth and relaxed.
When you start out walking the first time, the instructor will usually lead your horse. This will help you to maintain your balance. But over time as you learn how to ride a horse you’ll learn to cue the horse to walk on your own.
#7: Turning
So depending on how your first lesson goes, you might get to practice turning.
The way that you’ll turn depends on whether you’re learning how to ride a horse English or Western.
With English, you’ll use direct reining and leg pressure. You’ll have one rein in each hand, and you’ll pull back gently on the left rein to turn left, for example. At the same time you’ll give a little pressure with your right leg. And vice versa to turn right!
With Western, you’ll use neck reining and leg pressure. The reins will be in one of your hands, resting by your hip. What you’ll do is lay the outside rein (the right rein if you’re turning left, and vice versa) on your horse’s neck. The pressure will encourage them to turn.
For both styles of riding, leg pressure is important. When turning into a corner use your outside leg and apply gently and consistently. This will allow the horse to understand where to better position its back end. Combining both rein and leg gives the horse a fair chance to do what your asking without yanking on their mouth (ouch!).
#8: Stopping
So unfortunately your lesson is coming to an end, and it’s time to halt.
To get your horse to stop, pull on both reins and say ‘woah’. Once they’ve stopped, release the reins.
Your instructor may actually get you to practice halting a lot throughout your session. It’s important for you as a rider to know how to stop, for safety’s sake. As you get more experienced you’ll learn how to stop from different speeds – but you can get a sneak peek here!
How to Ride a Horse: After You Ride
#9: Dismounting
Once you’ve come to a full stop at the end of your lesson, you’ll need to dismount.
Before you start your dismount, remove both feet from the stirrups. Holding the reins (and a little bit of mane if you need to stabilize yourself – it won’t hurt your horse), put your hands just above your horse’s shoulders and shift your weight to your arms. Bring your right knee up and over the horse (be careful not to kick them!) and bring yourself down onto the ground.
After that, you or your instructor will need to lead your horse back to the stables for the final step…
#10: A Reward for Your Noble Steed
It’s important that after you finish your ride you reward your horse for their hard work.
I don’t just mean feeding them a treat (although that is totally justified). After a ride, it should be you who removes their tack, cleans the tack, and gives them a quick post-ride grooming. Usually this won’t take very long (and certainly won’t during your first lesson) but once a month you would normally wash your horse and clean their saddle and tack.
Now You Know How to Ride a Horse!
Interested in the next step? Figure out which riding style is best suited for you and then perhaps add a little jump to it!
Now that you know exactly how to ride a horse, interested in looking like a pro? Have a read on how to look like a pro in the saddle for the first time!
I hope you’ve enjoyed learning to ride a horse with me – or at least preparing for your first lesson.
If you have any questions for me, please feel free to let me know in the comments.
Happy riding!